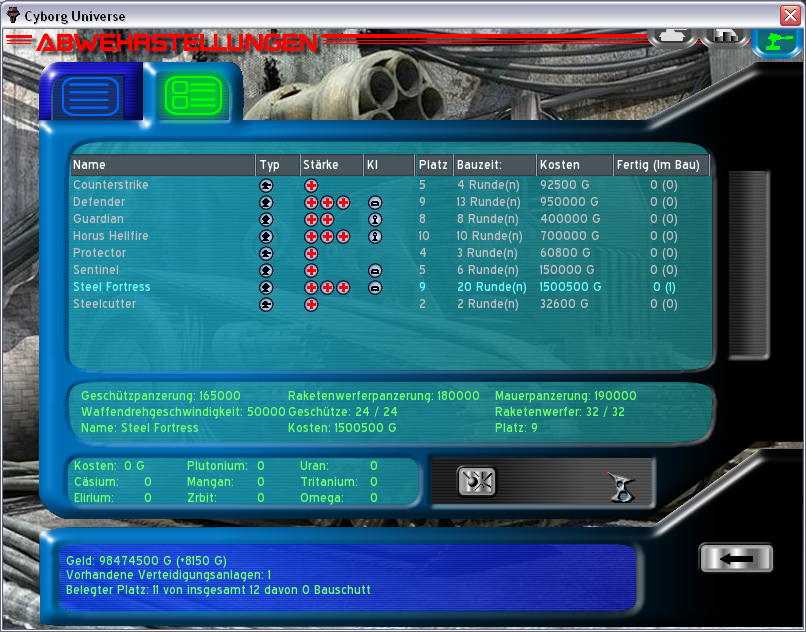
Bild (3)
vorheriges Bild
|
nächstes Bild
Zurück